Closed Friday 1/10 Due To Inclement Weather
On Point Baby Quilt
On Point Baby Quilt
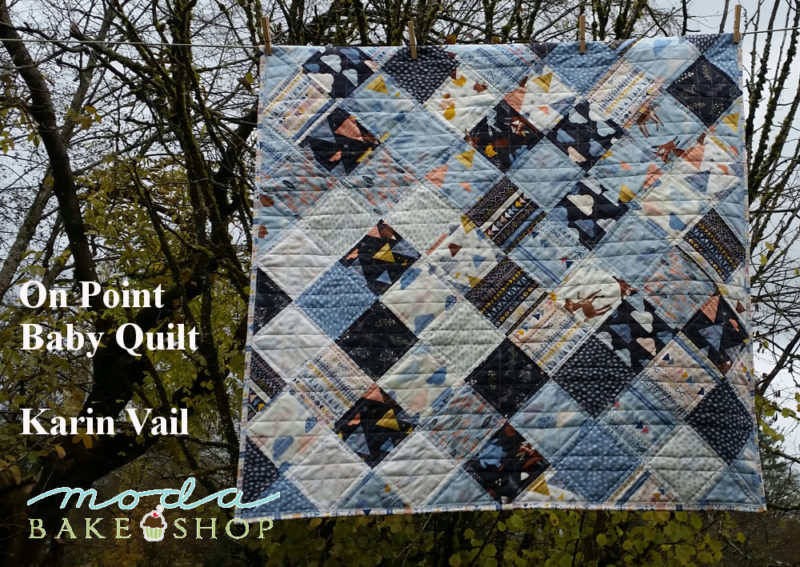
This idea of this on-point assembly came to my mind one night when I was trying to sleep - and honestly the possibilities are endless with this method! Most methods for on-point quilts require wasting some fabric and piecing diagonal rows of different lengths. This is a no-waste method and is very beginner quilter friendly! It literally took me less than 2 hours to assemble the quilt top from unwrapping the fabric to ironing the last seam, and I was taking pictures along the way.
This quilt finishes at 38" x 38".
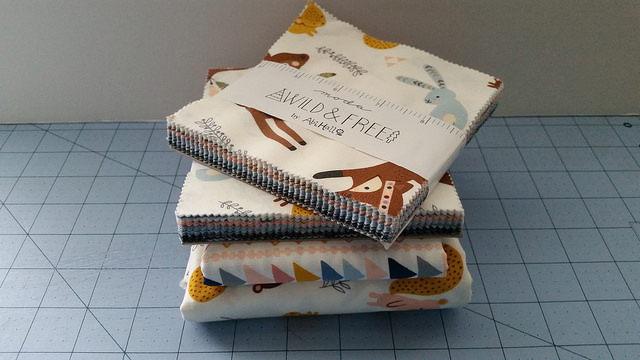
2 Charm Packs {Wild and Free, Abi Hall}
1 1/8 yards backing fabric
1/3 yard binding fabric
You will need a total of 72 charm squares for this project. I chose to remove the mainly pink prints from the charm packs since this is going to be for a baby boy, keeping 35 from each pack. These charm packs had 7 pink prints in each pack, so I had to sneak two 5'' squares from the binding yardage. So, you might want to add a little extra for the binding fabric just in case if you want to leave out certain colorways.
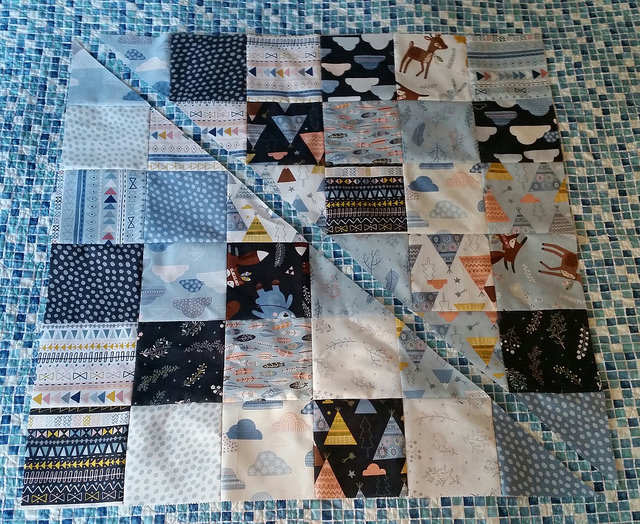
You will start by assembling 2 large 'blocks' with 36 squares in a 6x6 layout.
~~~~~~~~~~~~~~~~~~~~~~~~~~~~~~~~~~~~~~~~~~~~~~~~~~~~~~
Now, take each of your large pieced blocks and cut them in half diagonally, creating a total of 4 pieced triangles.
~~~~~~~~~~~~~~~~~~~~~~~~~~~~~~~~~~~~~~~~~~~~~~~~~~~~~~
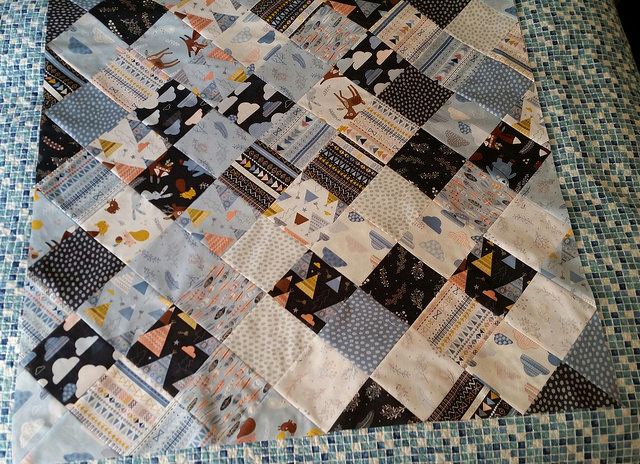
Arrange those 4 triangles with the corners toward the center
~~~~~~~~~~~~~~~~~~~~~~~~~~~~~~~~~~~~~~~~~~~~~~~~~~~~~~
Assemble the large patchwork triangles into your on-point quilt top! Wasn't that easy?! And FUN! I want to make more!
This quilt finishes at 38" x 38".
This method will work for any size square quilt, any size fabric squares, just as long as your two large 'blocks' are square. The way to determine what size quilt top they will make is to measure the diagonal on your initial blocks - that will be the size of the sides your quilt top when you are done. I can't wait to do this method for a full size quilt with jelly rolls!
Karin Vail
{cascadequilts.com}


Comments