Welcome to Moda Fabrics!
POUCH CLUB: OLD GLORY
POUCH CLUB: OLD GLORY
Published:
May 16 2024 - 08:00

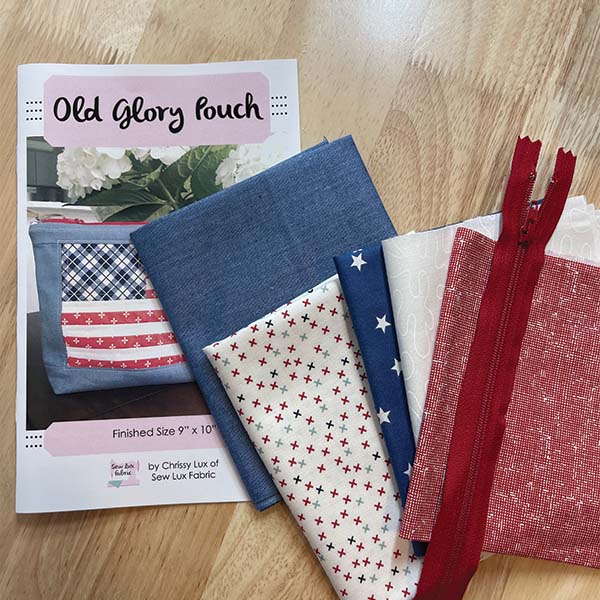
Materials Needed:
You will need the following to complete this project:
- 3 Fat Sixteenths for Flag (red, white, blue)
- 1 Fat Quarter Exterior (Crossweave Lake shown)
- 1 Fat Quarter Lining
- (1) 12" longer zipper
- 1/3 yard Interfacing (Pellon SF101 or similar)
- Old Glory Pouch Pattern SLF1906*
**Note: Some printed patterns may have an error for the zipper length. The correct length should be 10" including the tabs on page 5 step 2.
Paper and PDF patterns as well as kits are available in our shop at Sew Lux Fabric or ask your local quilt shop to carry the paper pattern and kit one up for you!
Step 1: Piece the Pouch Front
Follow the directions in the pattern to cut the fabrics to size. We’re using assorted prints from a variety of Moda collections and Crossweave for this pouch.
We are using some SKINNY strips for this pouch... and I have a few tips I want to share when sewing with small pieces like this.
First, glue basting can really help keep things from wiggling around too much.

Second, when pressing, I like to "finger press" first, which basically just means that I will gently press the seam open by hand before applying heat from the iron. Then, I will press the seam by placing the iron directly on top of the patchwork and lifting it off. I don't want to push the fabric with iron because this can cause it to distort a little.
Third, sew an accurate 1/4" seam. Being off by just an 1/8" can really add up quickly with many small pieces.
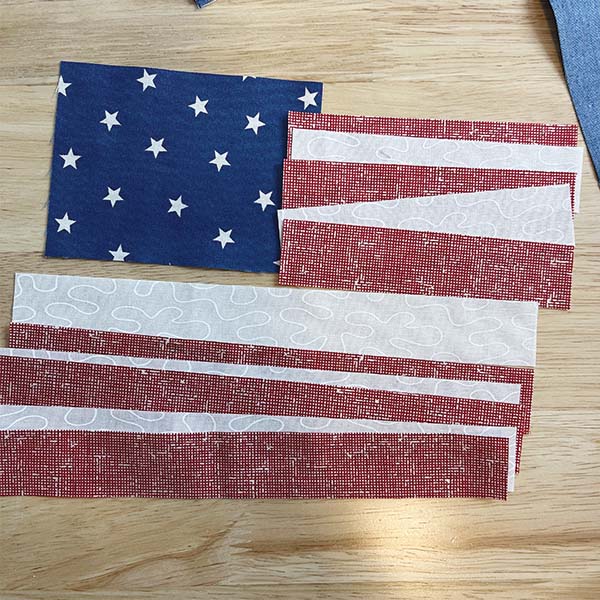
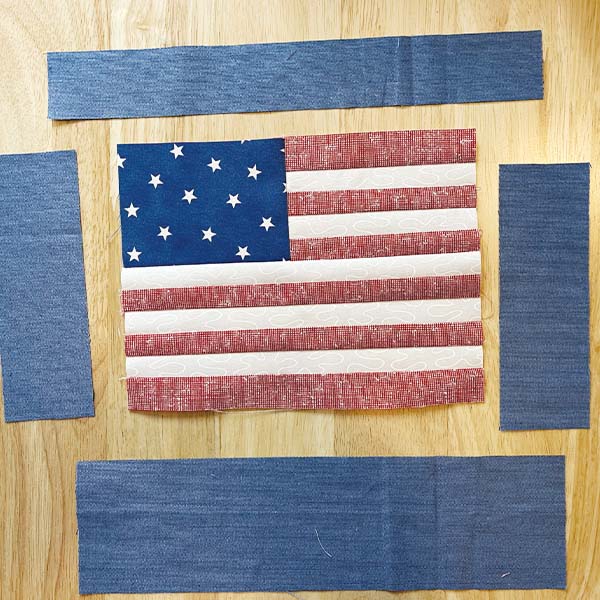
Sew the stripe units together as instructed in the pattern.
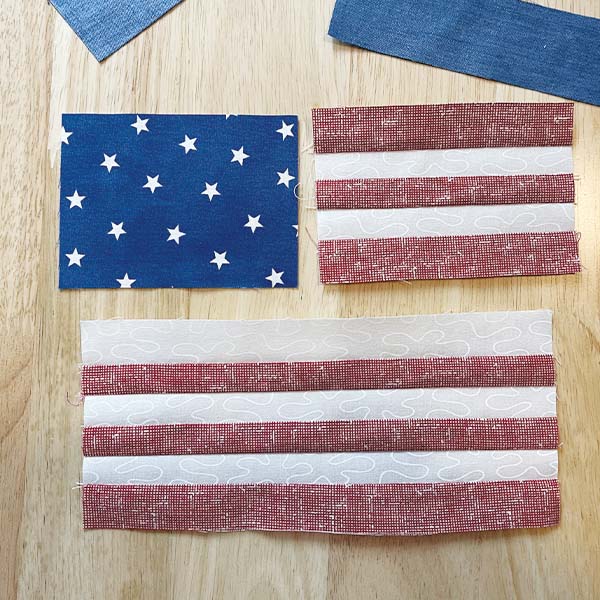
Then, join the short stripe unit to the stars rectangle. And then add the long stripes to the bottom.
Add side border strips and then the top and bottom to finish the pouch front.
Once the front pouch panel is made, adhere interfacing to the wrong side of the front and the pouch back as well.

Add any decorative stitching, if you'd like. I topstitched around the outside of the flag about 1/8" from the seam.
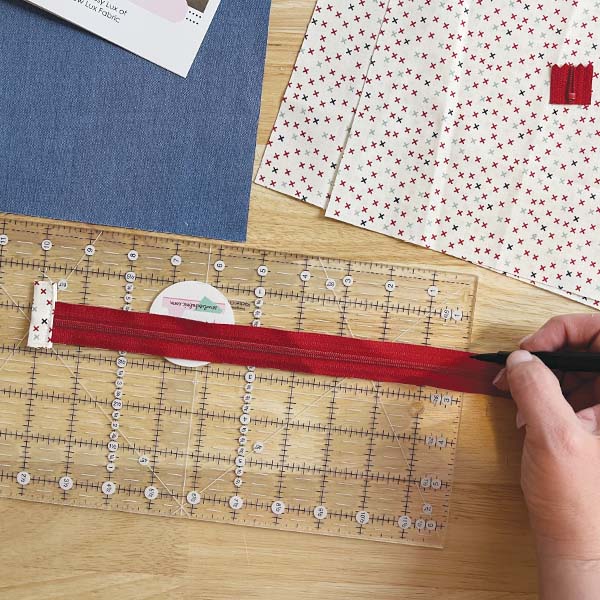
Step 2: Prepare & Install the Zipper
Follow the directions in the pattern to make and add tabs to the ends of the zipper.
REMINDER - check to be sure that your version of the pattern has the correct zipper length listed - it should be 10". If not, make a note in your pattern .
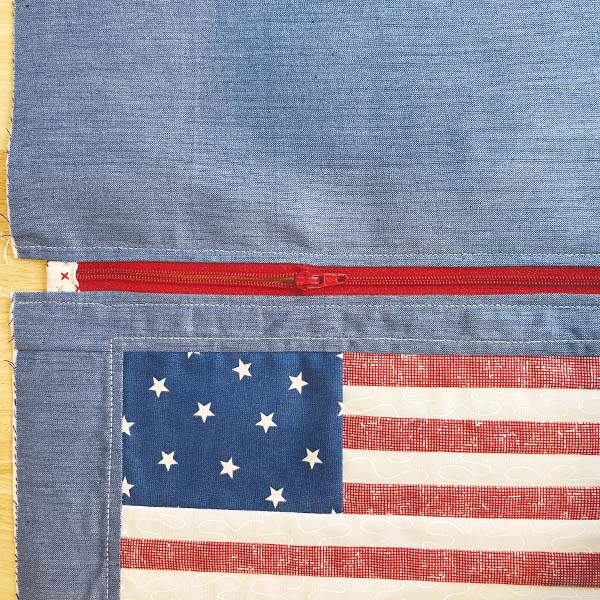
Align the zipper with the top edge of the pouch, centering it and leaving about 1/2" on either side.

Install the zipper using a zipper foot and top stitch the exterior & lining in place.
Step 3: Finish the Pouch
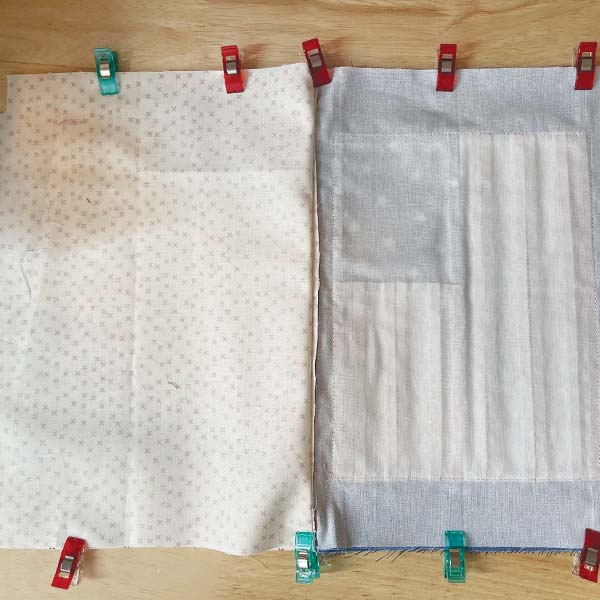
Cut a 1.25" square in each corner so you can box the corners later.
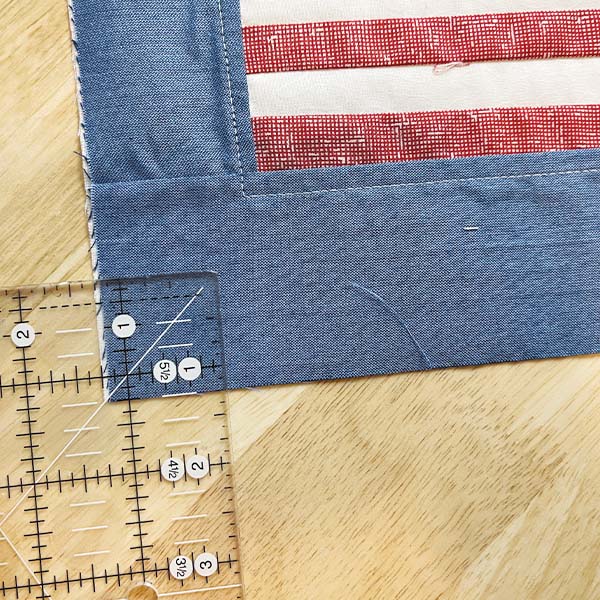
Arrange the pouch so that the exterior is RST and the lining pieces are RST. Make sure the zipper is half open and pin or clip in place around all four sides and sew closed, leaving a 3-4" hole in the bottom of the lining.
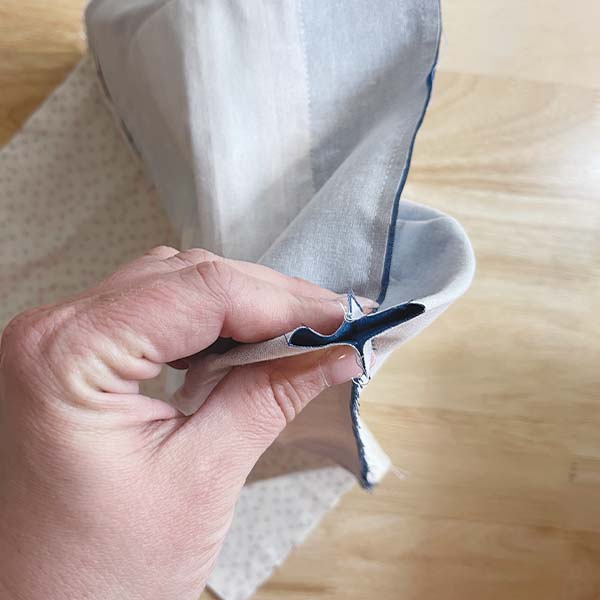
Pinch the bottom corners as in the photo below and sew them closed to box the corners of both the exterior and the lining.
Turn the pouch right sides out through the hole in the bottom of the lining, press well and close the opening by hand or machine.
Your finished pouch is now ready to use and enjoy!
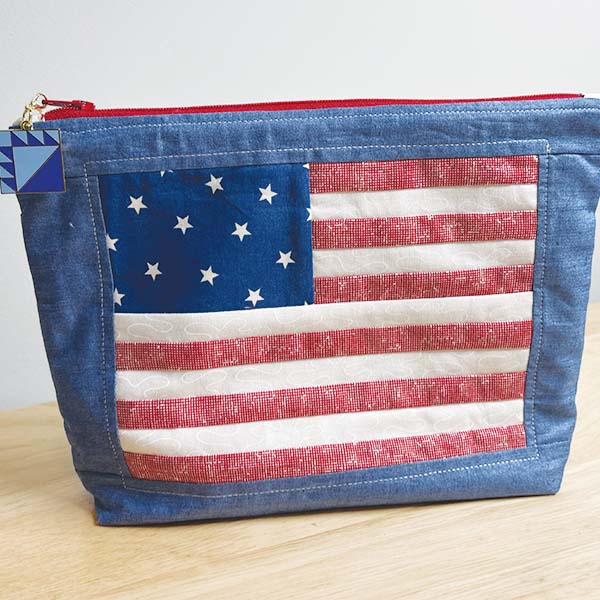
Our zipper pulls look so cute on this pouch! The blue quilt block pull comes in a set of six in assorted colors! (Pouch Club Enamel Zipper Pulls set SKU CL141).
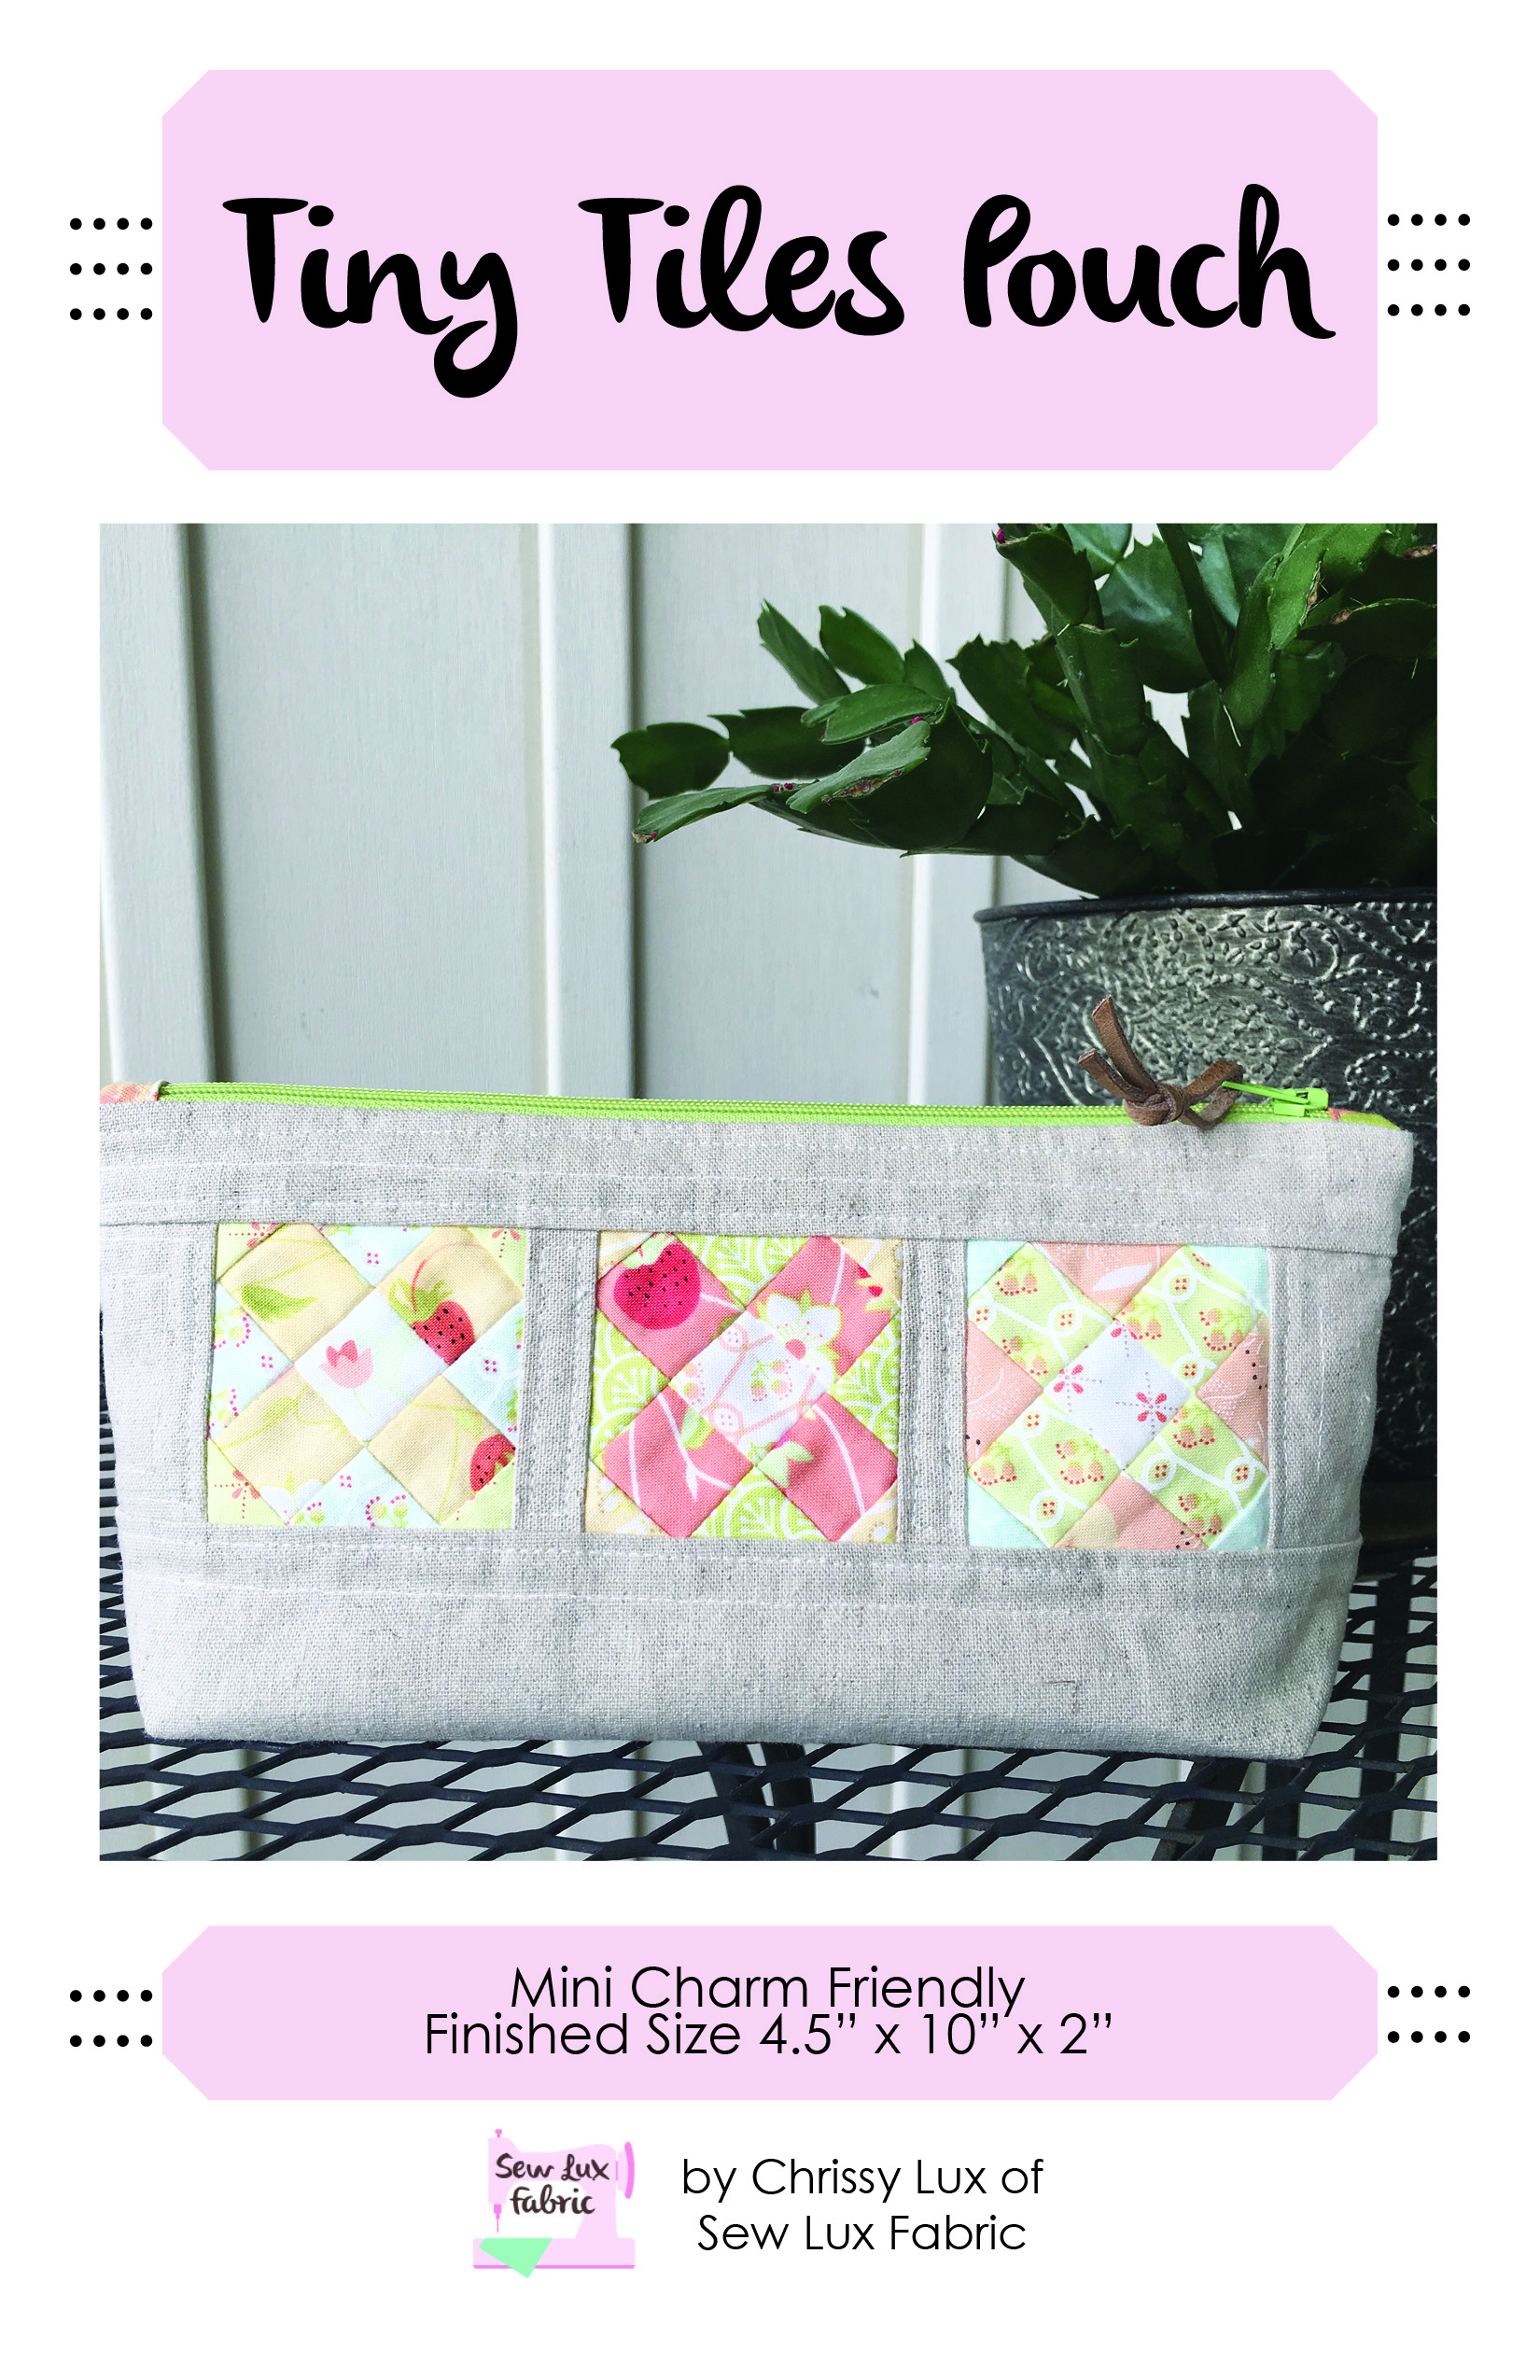
Next month, we will be making the Tiny Tiles Pouch, a fan favorite at Sew Lux! See you back here on June 20th for our next installment of the Pouch Club Series.