Welcome to Moda Fabrics!
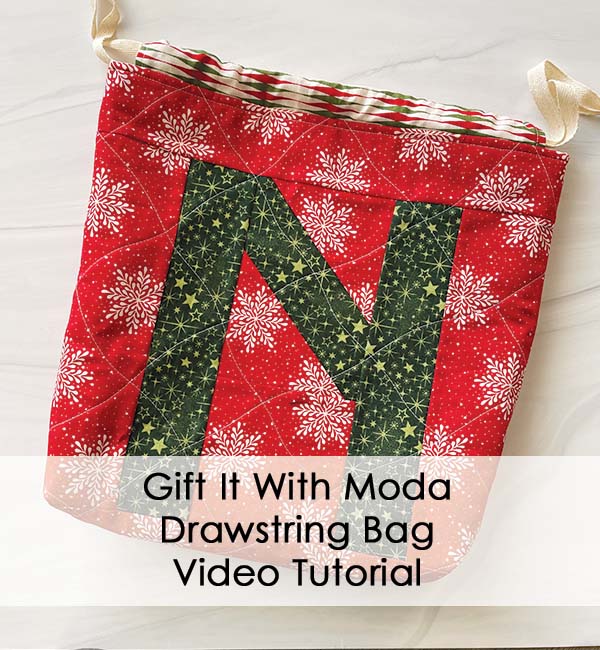
Gift It With Moda Drawstring Bag Tutorial
Gift It With Moda Drawstring Bag Tutorial
The holiday season is upon us and we're excited to share a fun tutorial with you ... Let's Gift It With Moda!
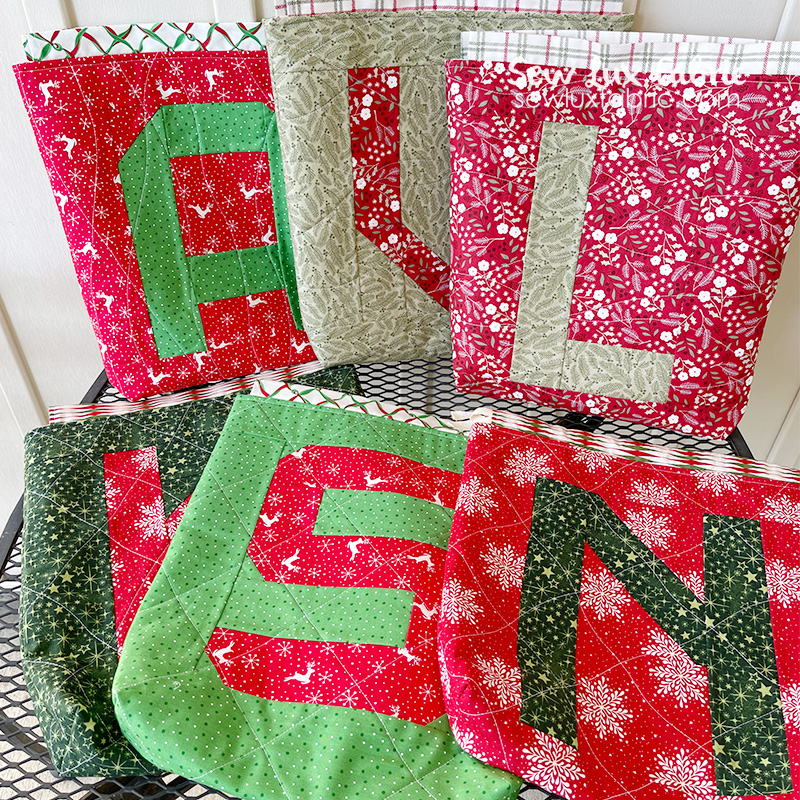
Materials Needed:
- Half yard for exterior
- Half yard for lining
- (1) 2.5" x WOF strip to letter (or use leftovers from lining)
- 2 yards twill tape or ribbon
- 1/2 yard of fusible fleece or batting (if quilting)
- FREE Pattern (download it here)
Note: Small scale and non-directional prints work well for this project. Additionally, you want to make sure you have good contrast in the prints.
Need a kit? Visit us at Sew Lux Fabric or ask your favorite local shop to help you select prints for your project!
Let's Get Sewing!
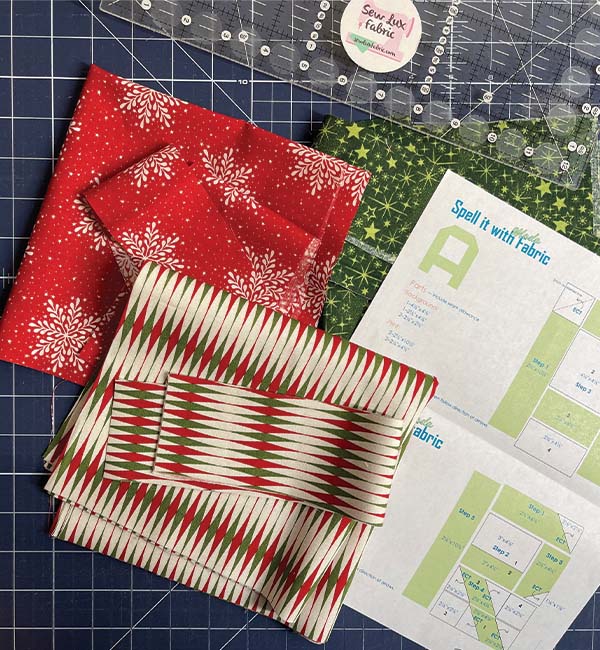
Cut your lining and exterior as directed in the pattern download (linked above in the Materials Needed section).
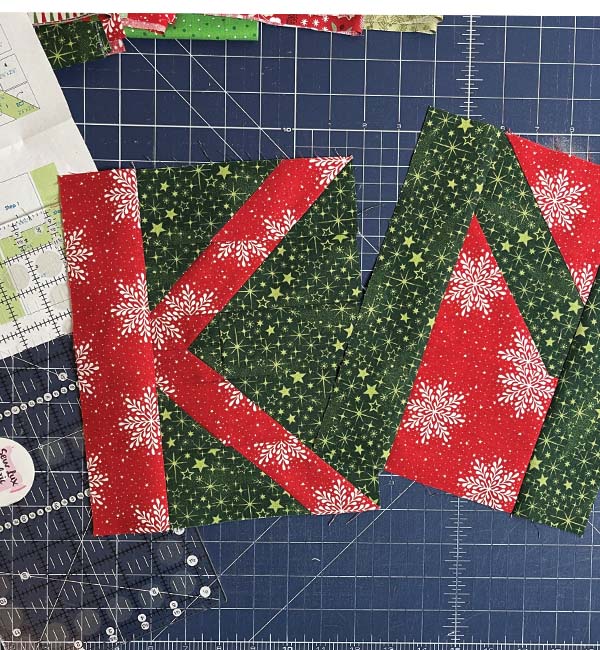
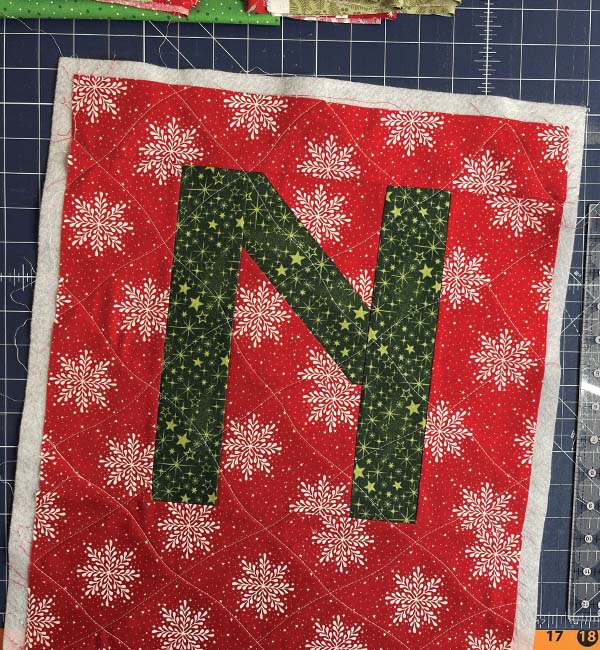
Piece your preferred letter following the Spell It With Moda letter blocks pattern.
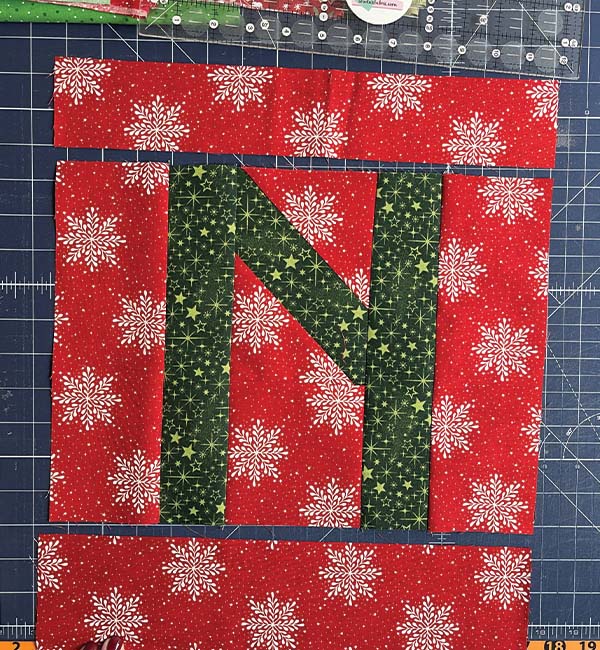
Once your letter is pieced, sew on the 3.5" x 10.5" exterior print strips to the left and right sides. And the 2.5" x 14.5" exterior print strips to the top and the 14.5" x 18.5" exterior rectangle to the bottom.
Quilt your exterior, if you'd like to. We used fusible fleece. Trim away any excess batting before proceeding.
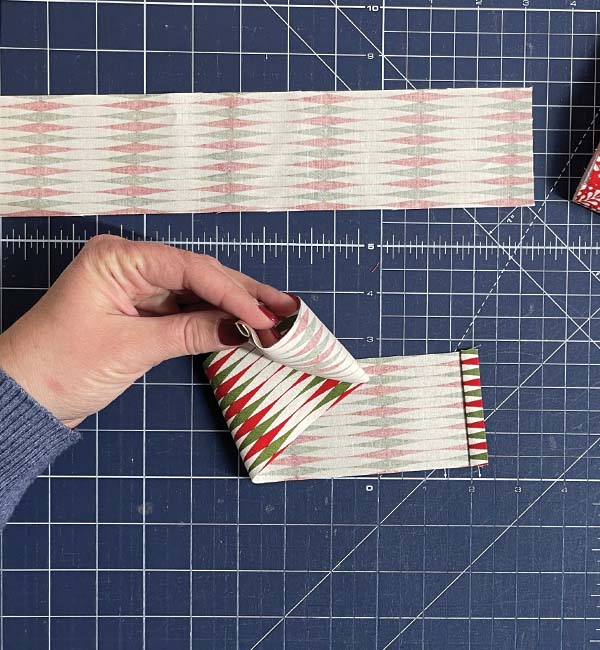
To make the casing for the ties, you'll fold each short edge of the ties under 1/2" and press. Then fold the raw edge in to the crease and topstitch to secure.
Fold the casing in half RST and align the raw edges with the top edge of the bag, being sure to center it.
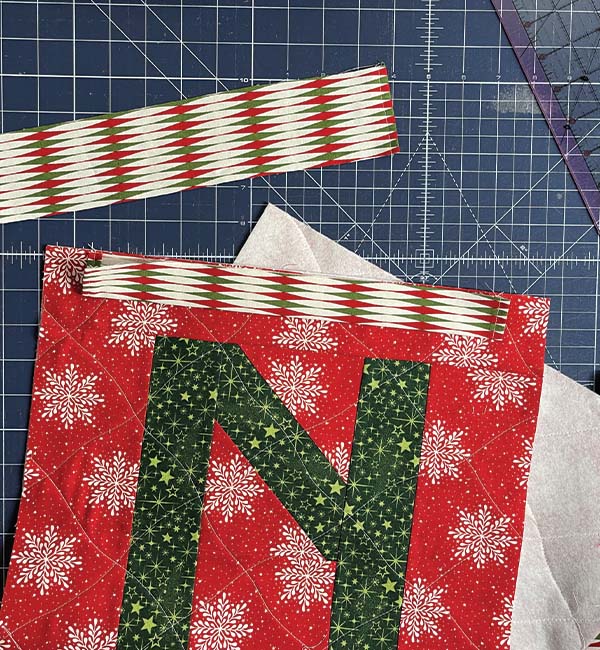
Baste the casing in place and then repeat at opposite end.
Place the lining RST with the exterior and sew along the top and bottom edges only. And then press the seams.
Manipulate the bag so that the lining is RST and the exterior is RST. Match up the center seams and pin/clip the sides closed, being sure to leave a 4" gap on one lining side.
Sew along both sides of the bag. (Check out the video tutorial here.)
Before turning the bag right side out, mark and cut a 1" square in each bottom corner of the lining and exterior. Do not include the seam allowance in the 1" square. Cut out the squares.
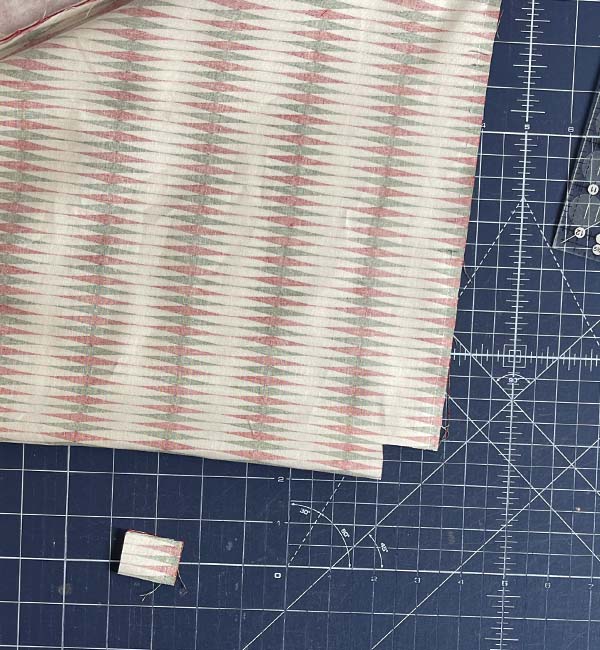
Box the corners by pinching the opening in each corner closed, aligning the side seam with the bottom crease. Sew closed with a 1/4" seam. Be sure to backstitch at both ends to secure.
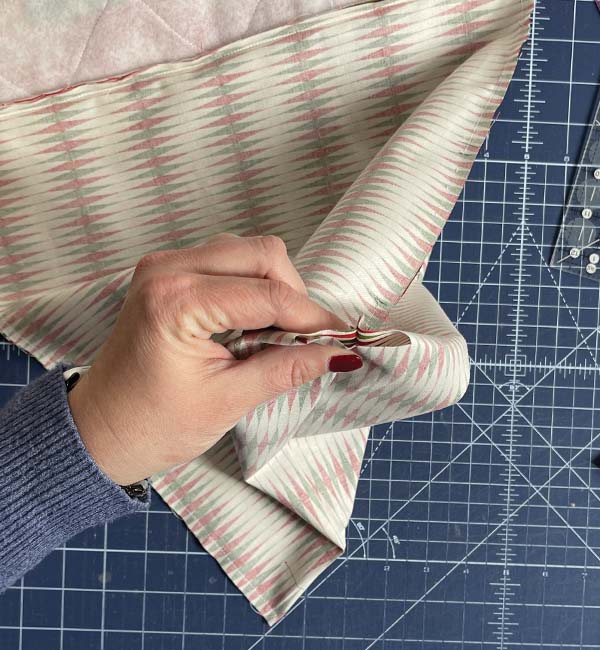
Turn the bag right side out and close the opening in the side of the lining. Top stitch around the top edge of the bag to secure all the layers in place.
Add drawstring ties by snaking the twill tape (or ribbon of choice) through the casing using a safety pin.
And now you are all ready to "Gift It With Moda!"
You can watch a video of the process to make this bag in our tutorial here.
We can't wait to see your bags - tag @modafabrics and @sewlux and use #giftitwithmoda

Comments